Although, there is a way to by-pass the issue and configure it for the customers.
You will need to have 2 icons for the same printer in windows that are configured with different default trays.
Here is how:
- First of all, if it isn’t done yet, guide the customer to install the printer in windows. ( FAQ: Setting a default printer in Windows 10)
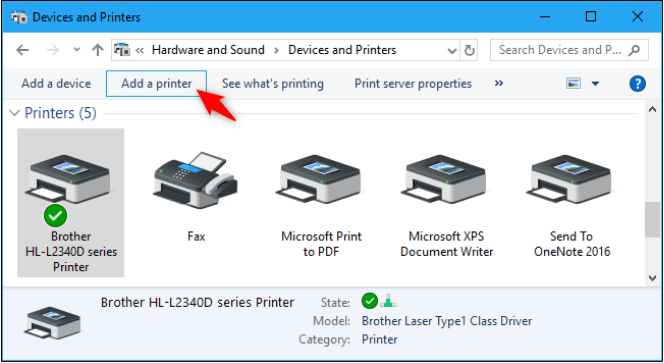
- Once done, go to ‘Devices and Printers in Windows and hit ‘Add a printer ’
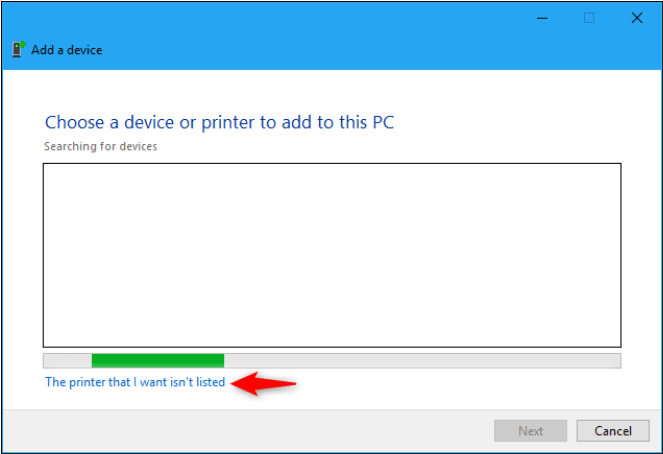
- Click ‘The Printer that I want isn’t listed’ to manually add a printer.
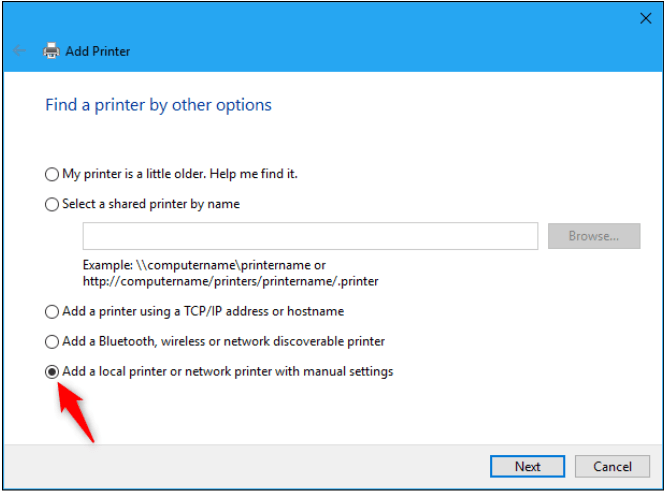
- Select ‘Add a local printer or network printer with manual settings’ and click Next.
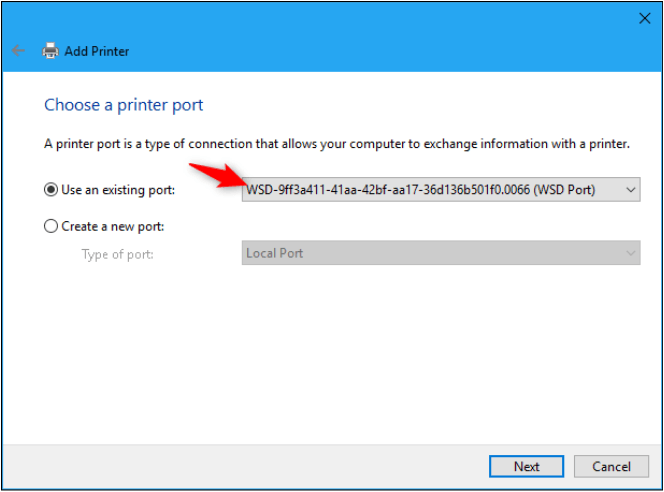
- Select ‘Use an existing port’ In the drop-down menu box, select to port the printer is using. (You can find the port used by right-clicking the printer icon and selecting properties and looking in the port tab).
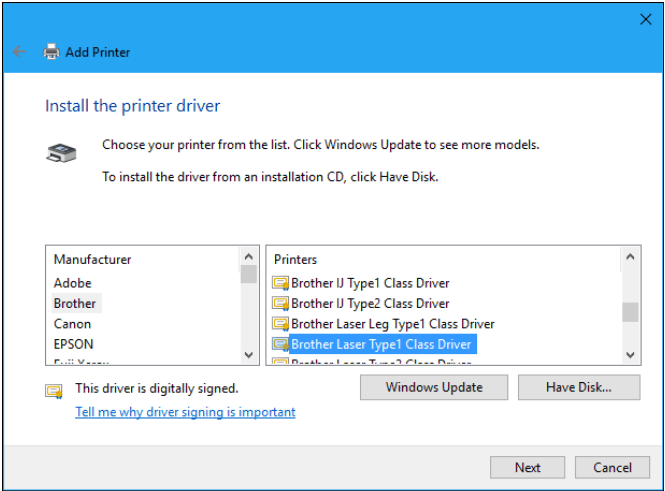
- Select the appropriate driver for the printer and hit Next
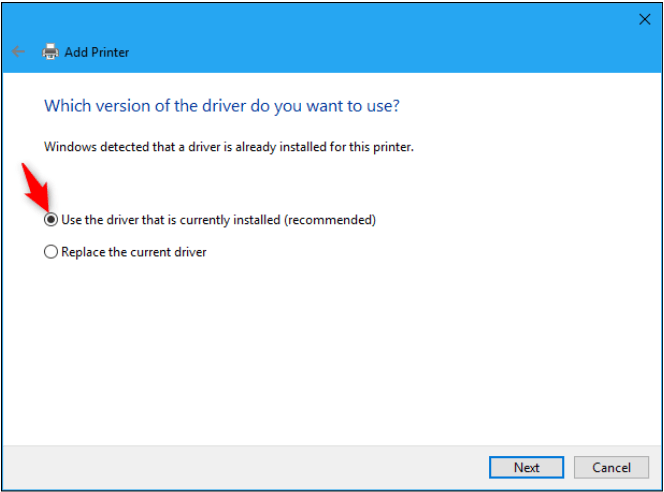
- Select ‘Use the driver that is currently installed and click Next
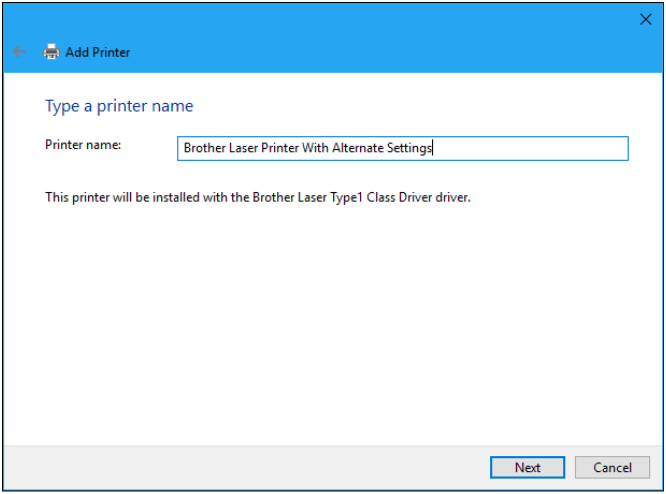
- Give the new printer a name (ex: Invoice Tray or Work Order Tray) Ask customer when in doubt
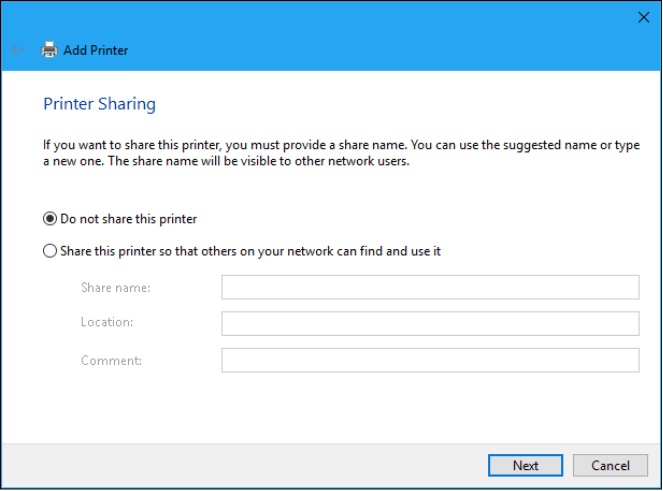
- Choose whether to share or not (no impact)
- Now go to the properties of the printer, and set the appropriate default tray depending on the printer icon selected.
- Go in every GEMCAR local configuration and configure each GEMCAR step to the correct printer/tray.
- TEST!


 Click here to ask for a free demo


